3D Princess Crown
What little princess wouldn't want her own crown? This 3D Princess Crown is adjustable in size and is compatible with the 8x12 and 12x12 mats. The file comes with the two crown base pieces, the detail crown cut, the front mat, and the princess sentiment cut. These go together really quickly making them perfect for parties! You could even put the guest names on the front panels instead of the princess.

Here is the tutorial:

1. Cut out your pieces. Layer the detail cut on the main crown piece. Do not adhere the left side (near the slots) down just yet.
2. Join in the second piece in one of the slots. Finish adhering the detail piece in place.
3. Join the other end of the crown to form the headband.
4. Adhere the mat cut and princess sentiment in place.
...and of course if you have a crown, you need a wand, right!?
This 3D Princess Wand coordinates with the crown and even has room for ribbons!
The finished project as it comes sized is approximately 11" x 5-1/2" and it comes with the wand stem, two detail cut pieces, one slider piece (which includes room for ribbon/twine), and two backing cuts. The file is compatible with both the 8x12 and 12x12 mats and can be sized to fit your needs!
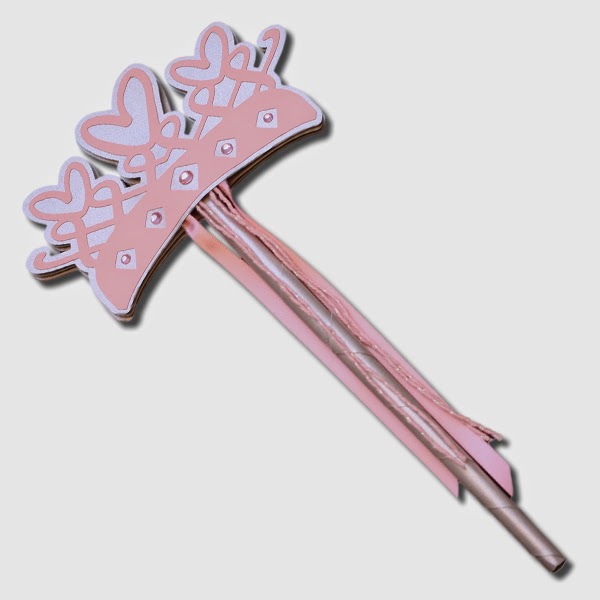
My wand is made with Silver Stardream Metallic Card Stock in 65# weight
and Pink Basis Card Stock in 80# weight. I added ribbon and twine as well as pink jewels.
Here is the tutorial:

1. Cut out all your pieces in your desired papers.
2. Adhere the detail cut on the two backing mats (do not use the slider mat yet).
3. Grab your wand stem square and place a strong adhesive on one corner and place your skewer/pencil in the opposite corner as shown.
4. Roll your paper toward your adhesive corner. Remove your skewer/pencil.
5. Cut the bottom of one end so it is level. This will be the bottom of the wand stem.
6. Push the pointed/top end of your stem through the slider mat as shown.
7. Place foam adhesive squares on the slider piece, adhering the pointed piece down.
8. Tie on your ribbons using the slots.
9. Your wand should look like this now.
10. Adhere your detail/mat piece in place, lining up all the edges.
11. Turn your wand over and add more foam adhesive squares.
12. Adhere your remaining detail/mat piece in place.
13. Your wand will look like this now.
14. (and like this...hehe, I have an extra photo in my tutorial!)
Tags:
3D Princess Crown
Bits of Paper
Crown
Jamie Cripps
Jamie Lane Designs
Princess
Princess Crown
Silhouette
Tutorial


0 comments